Overview
Hi, my name is Ruthie and I blog over at Refashionably Late. I’m so excited to be working with Wagner today on a really fun project! Plus, it’s perfect for the beginning of the school year. My older daughter starts First Grade next week so I wanted to make a quick little gift for her teacher.
Get out your Cricut
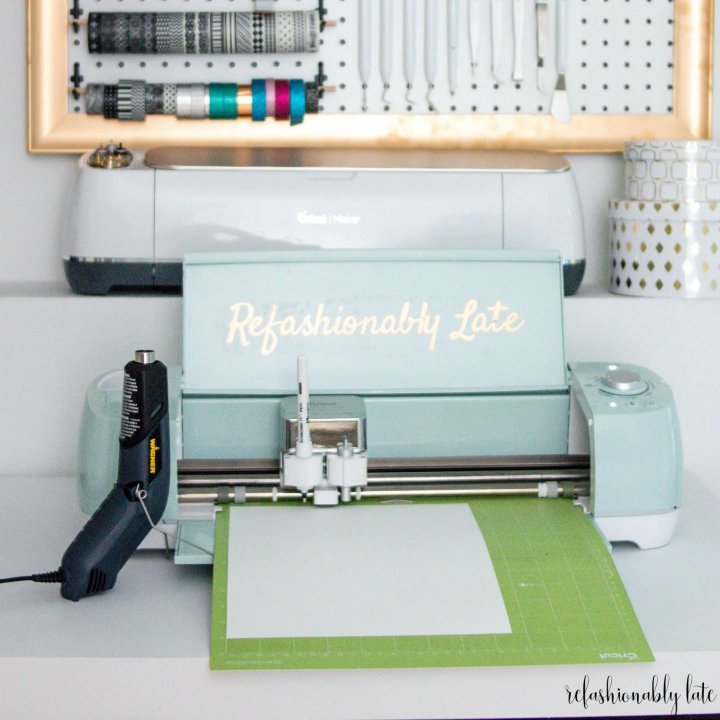
If you follow my blog you know that I’m a huge fan of my Cricut. I also love to make gifts for people which makes my Cricut even more amazing! It helps brings ideas I have to to life! The possibilities are endless with this amazing little machine.
Step #1
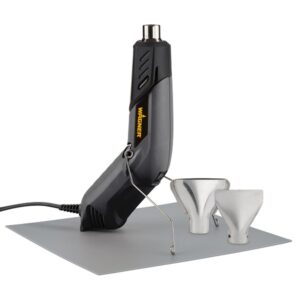
And a Wagner heat gun
I recently got my hands on the new Wagner HT400 Heat Gun and started playing around with the embossing technique. I used the typical stamps with the embossing ink pad and then played around with an embossing pen. I am not artistic when it comes to drawing so I wondered if the pen would fit in my Cricut….and it did!!
Step #2

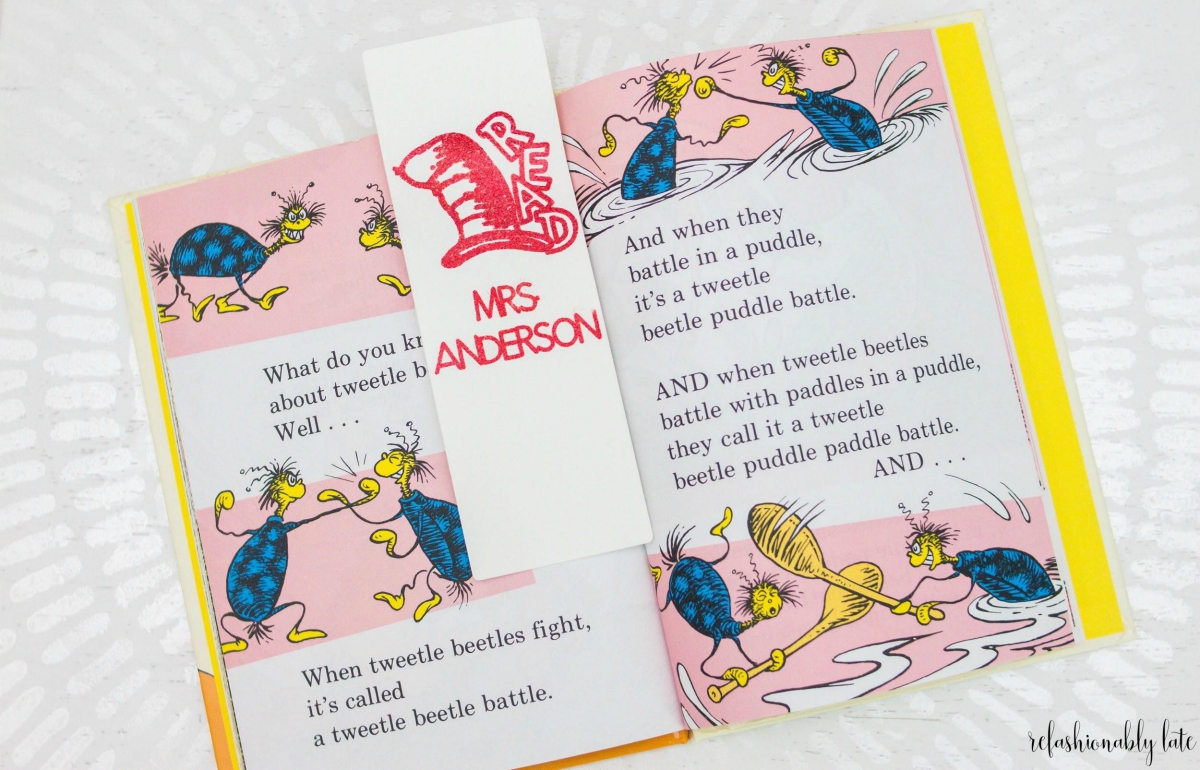
Select your template
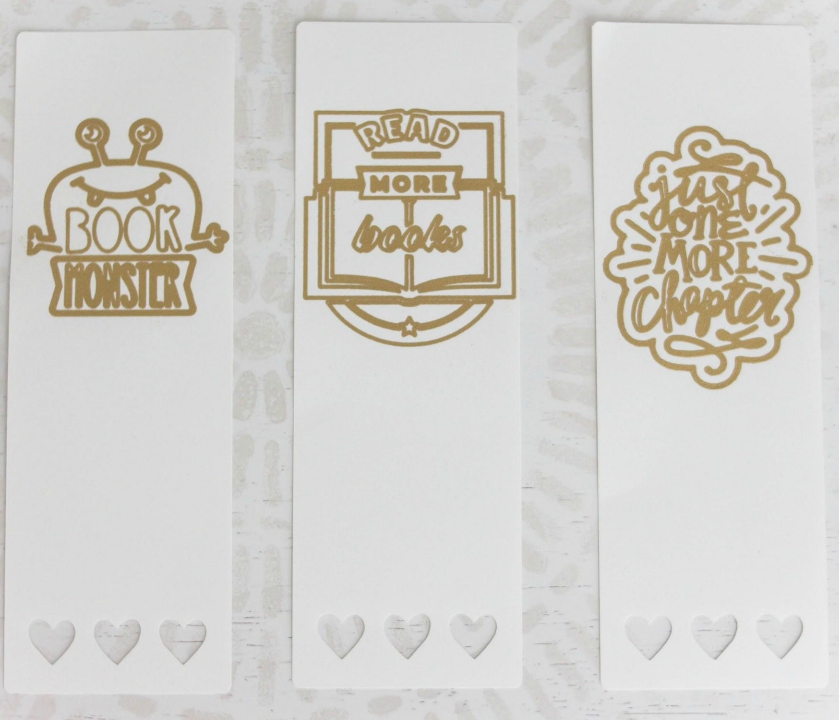
As I mentioned before, I wanted to make a gift for Lucy’s new teacher. What better gift than a personalized bookmark?! I created a few different templates in Cricut Design Space.
Step #3

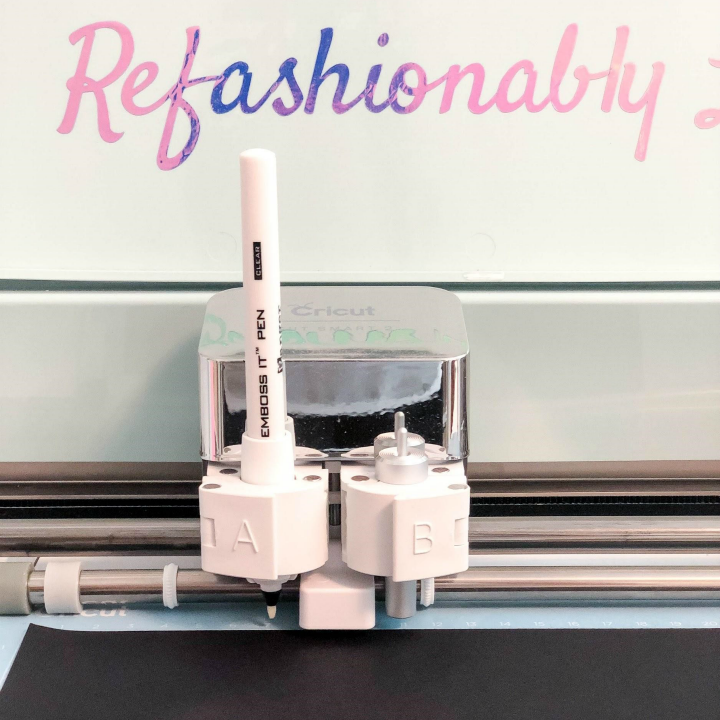
Set up Cricut with embossing pen
I set up the Cricut up to draw with the Embossing Pen and then cut out the shape of the bookmarks. After it was finished you could see a faint outline of where the embossing would show up.
Step #4
Use embossing powder
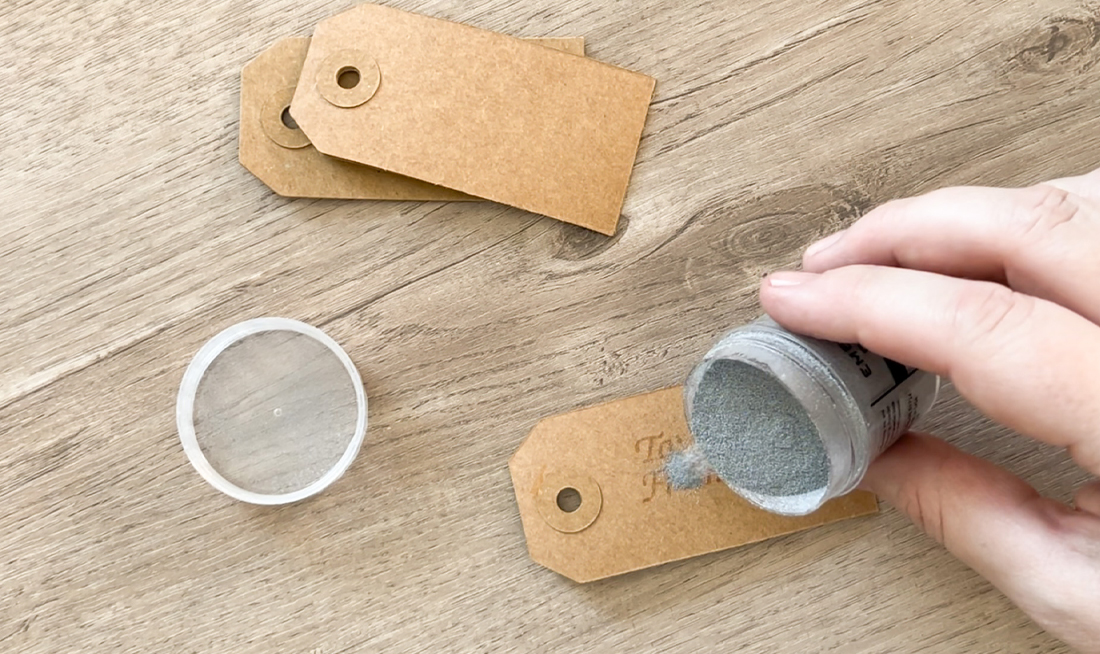
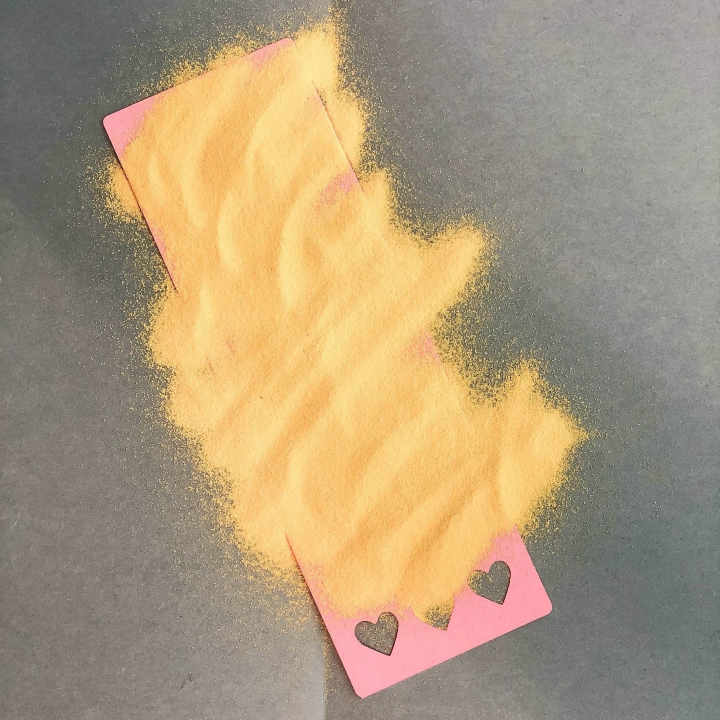
You have to work fairly quickly as you don’t want the embossing ink to dry. So I quickly grabbed the embossing powder and started to pour it on top of the bookmark.
Step #5
Cover completely and shake of excess
Completely cover the area where the embossing ink is placed. Remove the excess powder and dump the powder back into the container.
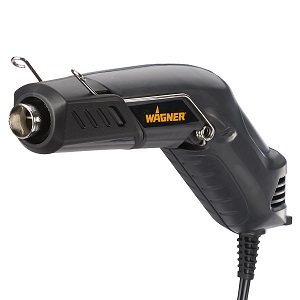
Step #6
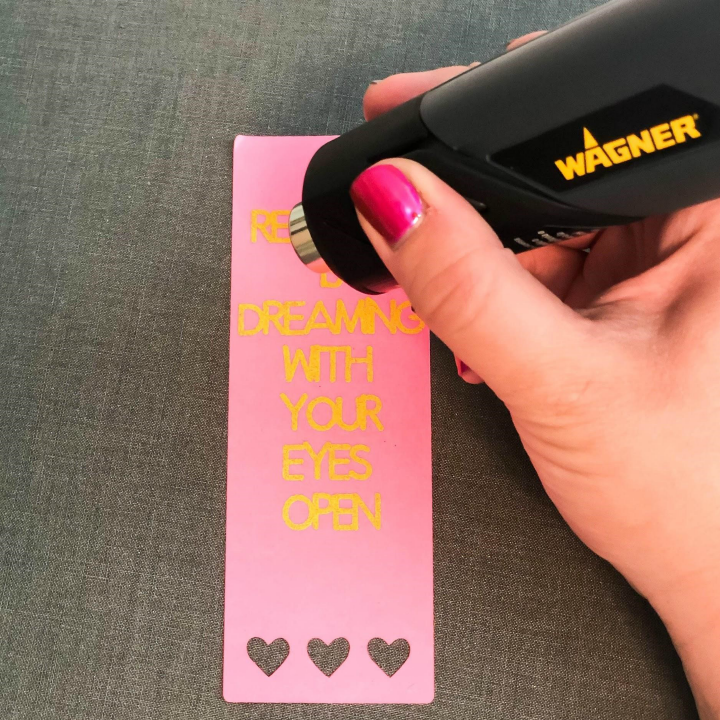
Heat powder
The last step, and most important step, is to use the Wagner HT400 Heat Gun to set the embossing powder to the ink. I’d recommend using setting 1 as it’s not too hot and won’t warp the paper.
Step #7
Let dry
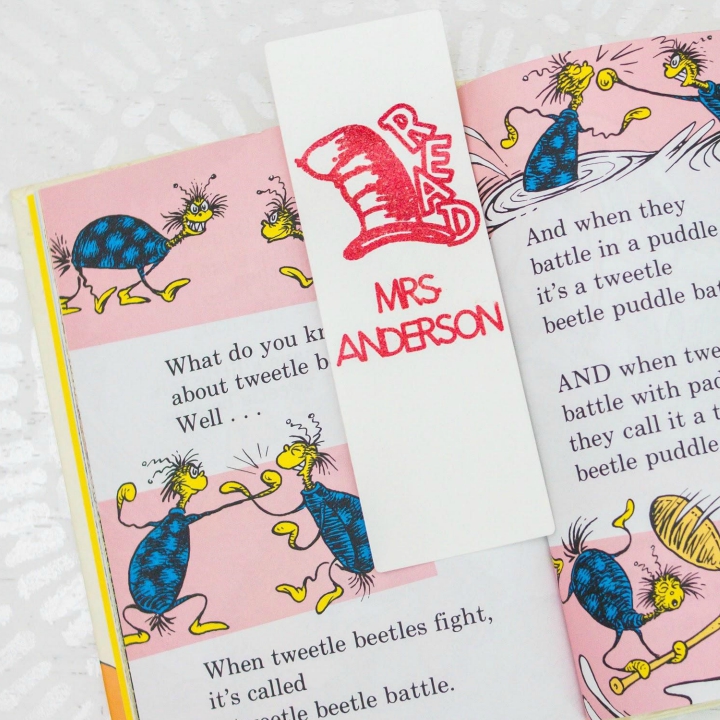
Set it aside to dry for a few minutes and then you have a beautiful handmade bookmark!
Step #8
Personalize
You can personalize it or simply put your favorite quote on it. You can give it as a gift or use it yourself to read your favorite book. It’s totally up to you!
Step #9

Download Project Steps & Shopping List
We’ll never share your email with anyone else