Overview
Hey everyone, this is Lindi and Russ. We are DIYers and home renovators that have been designing and renovating for 10 years now. We have three children under the age of ten, and over the years, in between all of our home projects, we’ve been creating things for them as well. This year our daughters asked us to build something special for them. They wanted their own lemonade stand! They have an idea to have a little roadside shop in our small town, and we decided to make it happen for them!
Before

After

Instructions

This year our daughters asked us to build something special for them. They wanted their own lemonade stand! They have an idea to have a little roadside shop in our small town, and we decided to make it happen for them!
Step #1

Russ spent a week cutting down scrap wood pieces and turning them into a beautiful lemonade stand that had everything the girls wanted – from a shelf, to a roof and a sign in the front.
Step #2

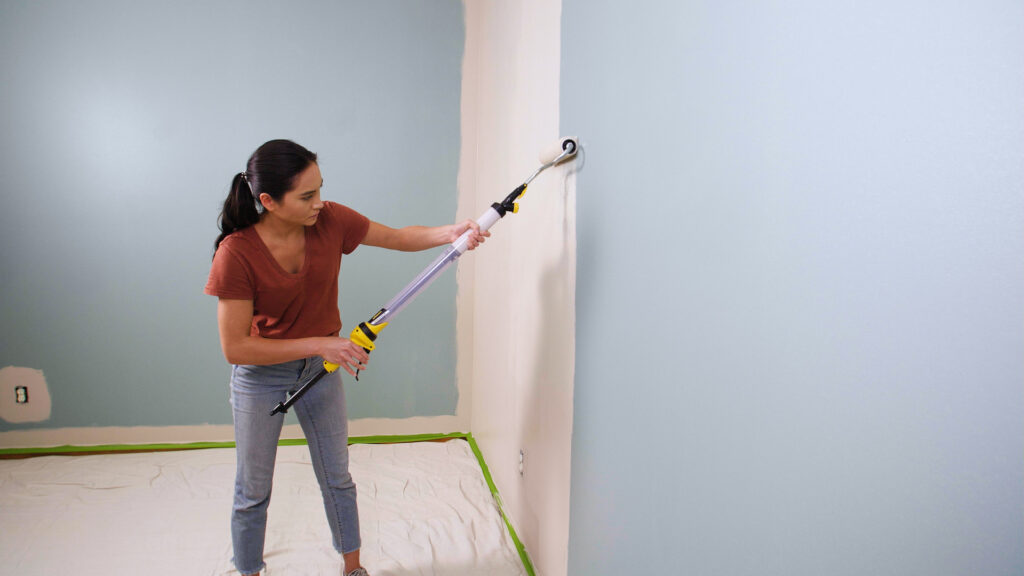
Once the stand was built, we used our Wagner FLEXiO 3500 to prime everything, and then to paint everything. With all of the corners, edges, and cubbies, a paint sprayer is definitely the best tool for the job.
Step #3

Russel sprayed the entire piece with primer in just ten minutes.
Step #4

When the primer was dry, we used leftover exterior paint in black and white to paint the rest of the piece. We used exterior paint so that it can withstand the weather if we ever accidentally leave it outside.
Step #5

The final touch was using our laser cutter to make a couple of interchangeable signs for the front of the piece. You could just as easily paint or build your own sign for the front as well.
Step #6

We were super excited with how everything turned out, and the kids’ reactions to the finished piece was priceless! They can’t wait to get it out to the road and start selling some lemonade!
See the full post by Lindi & Russ here.
Step #7

Download Project Steps & Shopping List
We’ll never share your email with anyone else


