Overview
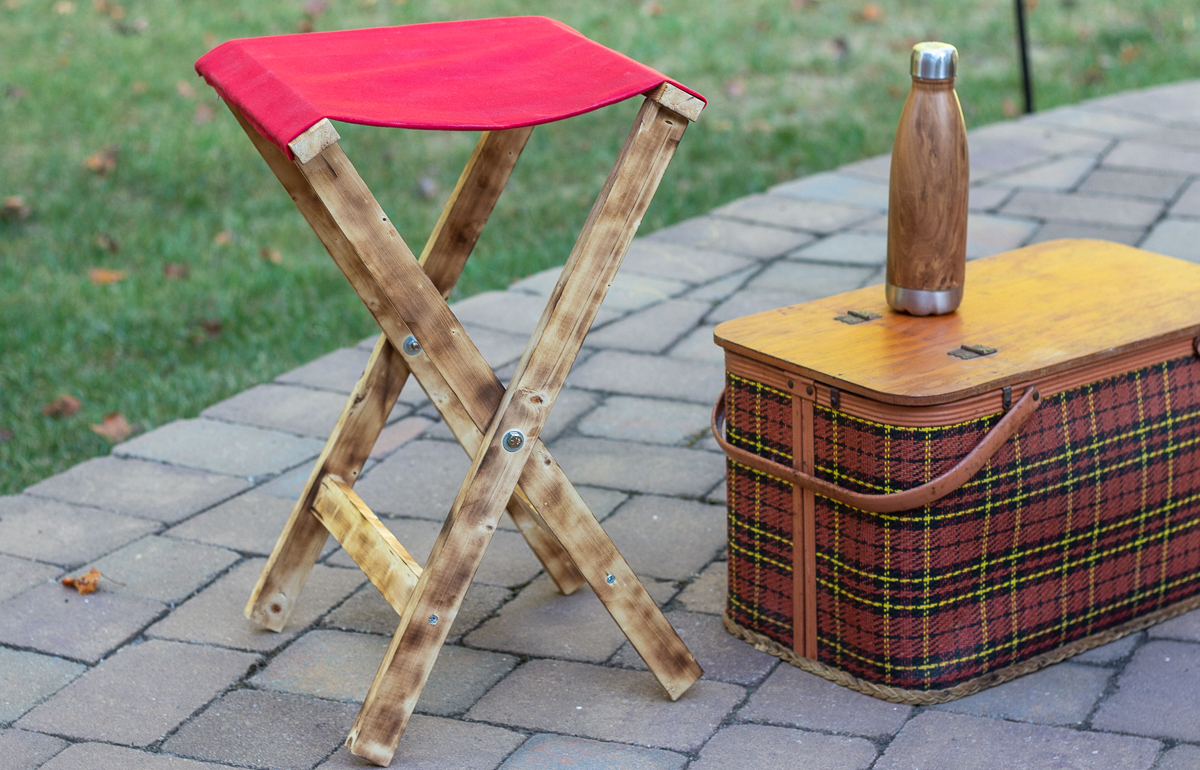
Use a heat gun to create a cool burned wood finish and a waterproof waxed seat on a folding camp stool.
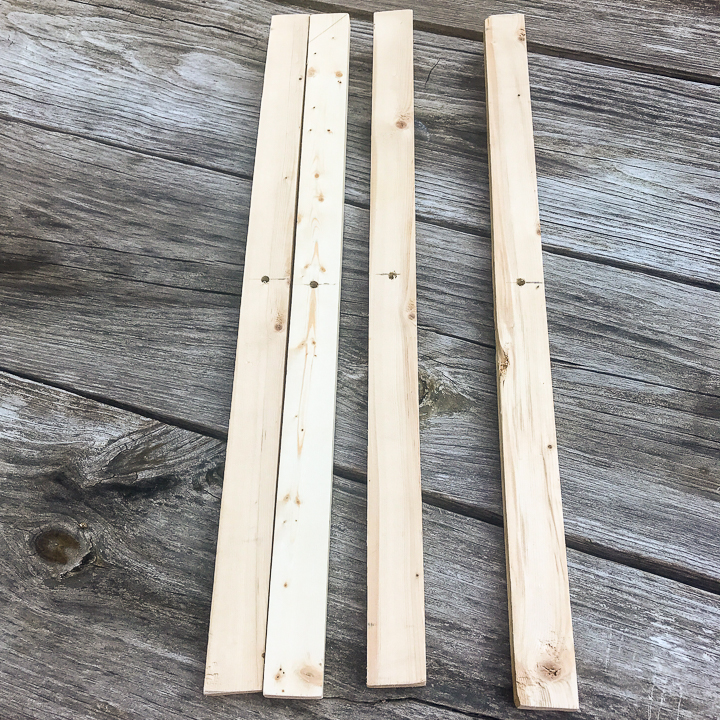
Cut wood pieces
If you can’t find a vintage folding camp stool, you can build your own. This is an easy, beginner project. You’ll need a few basic tools, including a drill, staple gun and circular saw (If you don’t have a saw, you can have the wood cut at your local hardware store).
Step #1
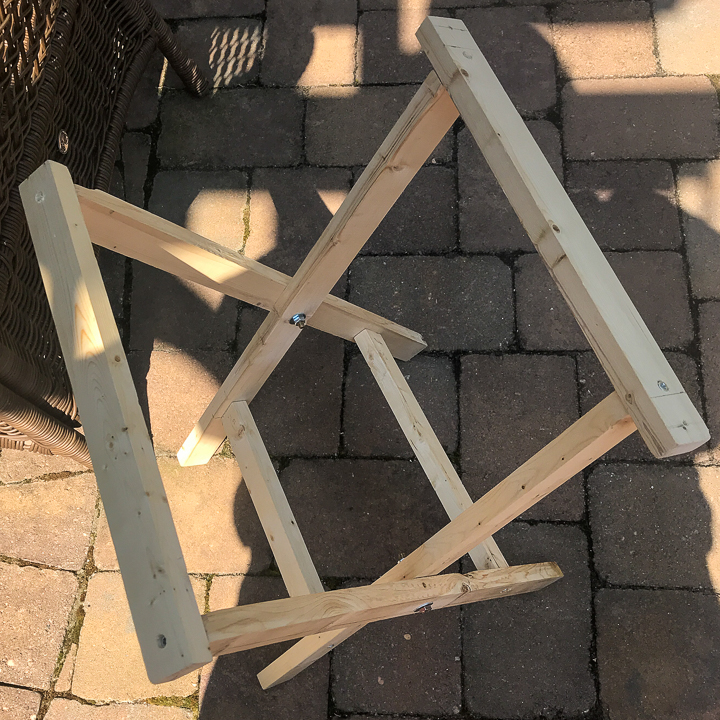
Assemble pieces
We used these plans from Ana White and How About Orange to build our stool. For specific details about how we modified the plans for our stool, visit Atta Girl Says.
Step #2
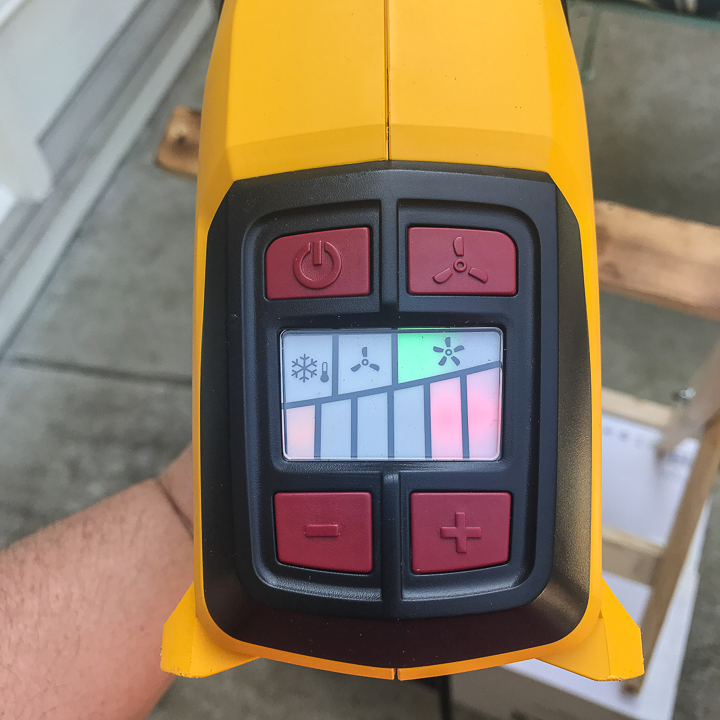
Select appropriate temperature setting
The FURNO 500 heat gun has 12 settings, from 150°F to 1200°F. The actual setting you’ll need will depend on the particular wood you are using, as well as how dark you want the burnt wood finish to be.
Step #3
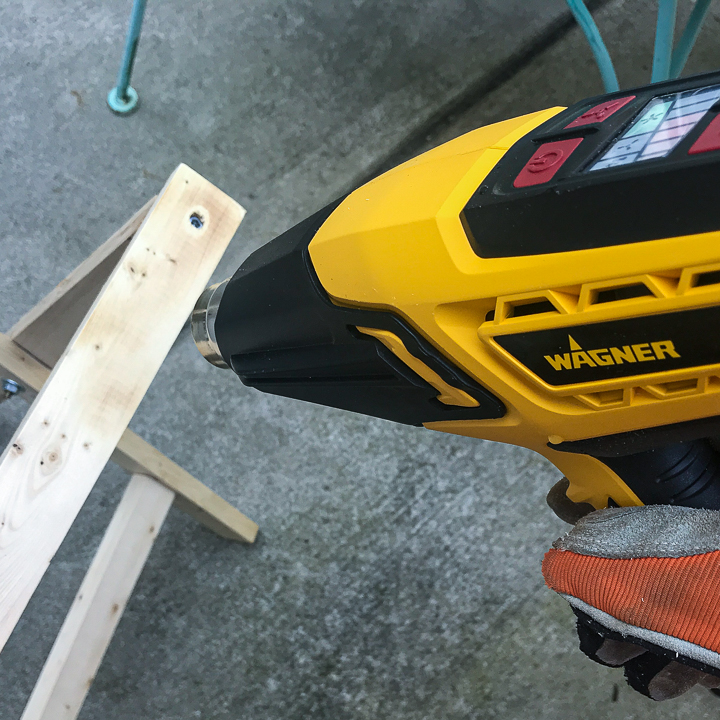
Practice wood burning on scrap of wood
Before beginning your project, practice wood burning on a scrap of wood first to familiarize yourself with the technique and determine the appropriate temperature setting.
Step #4
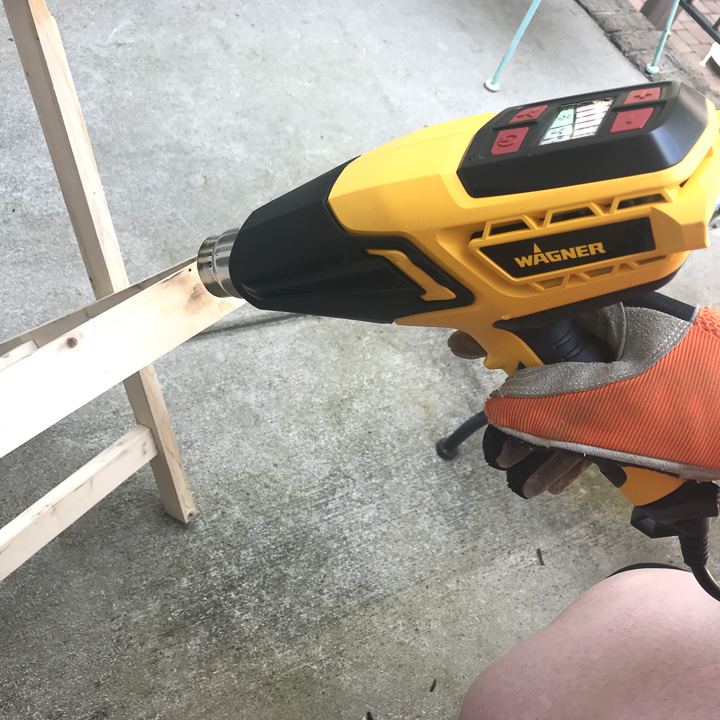
Begin burning stool
Wearing protective gloves, hold the heat gun about an inch from the surface and move it slowly over the wood until it darkens. You can make additional passes if you want a darker finish.
Step #5
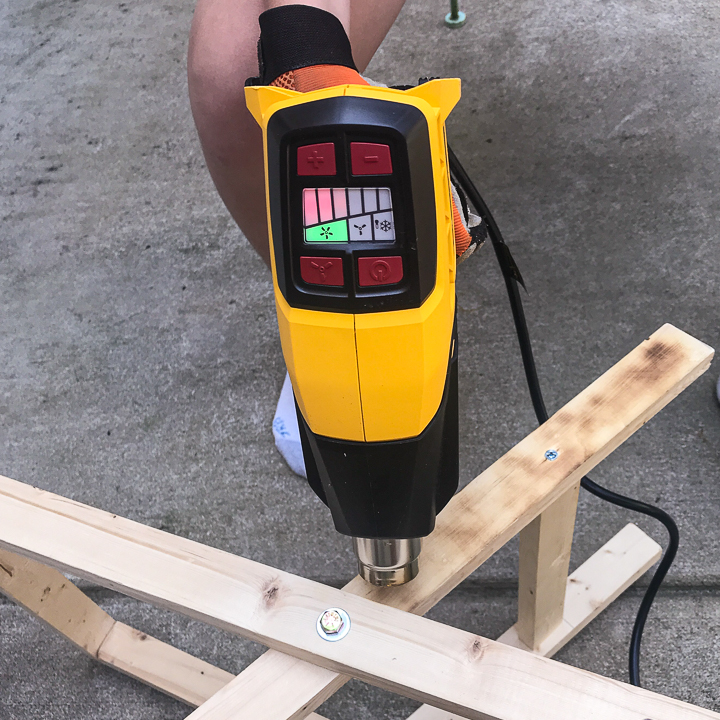
Use care – surface will be hot
When wood burning with a heat gun, be mindful that the wood surface, bolts and screws will be hot to the touch.
Step #6
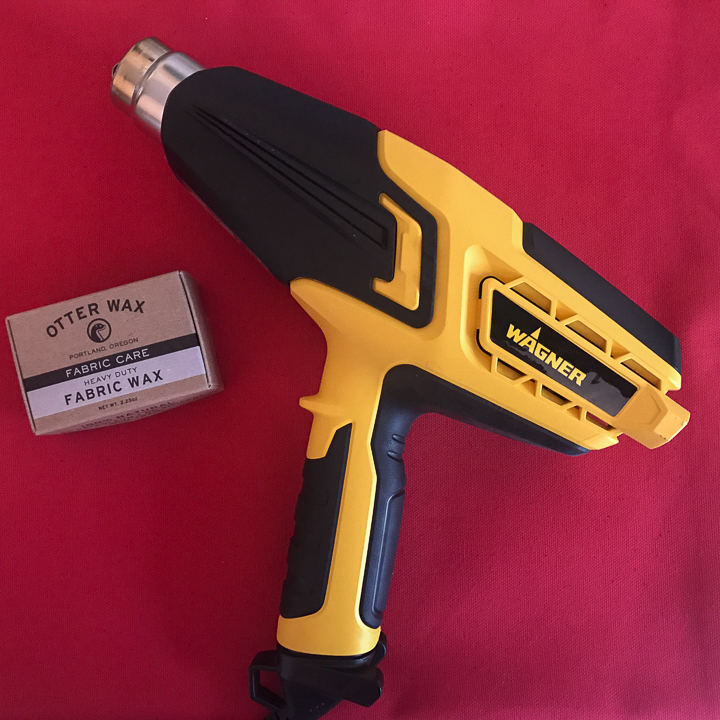
Make seat
Make the seat for the folding camp stool using canvas cloth. You can sew it or use fusible hem tape.
To create a waterproof seat, apply fabric wax both sides of the canvas seat before attaching it to the stool frame (Waxing fabric will darken it slightly).
Step #7
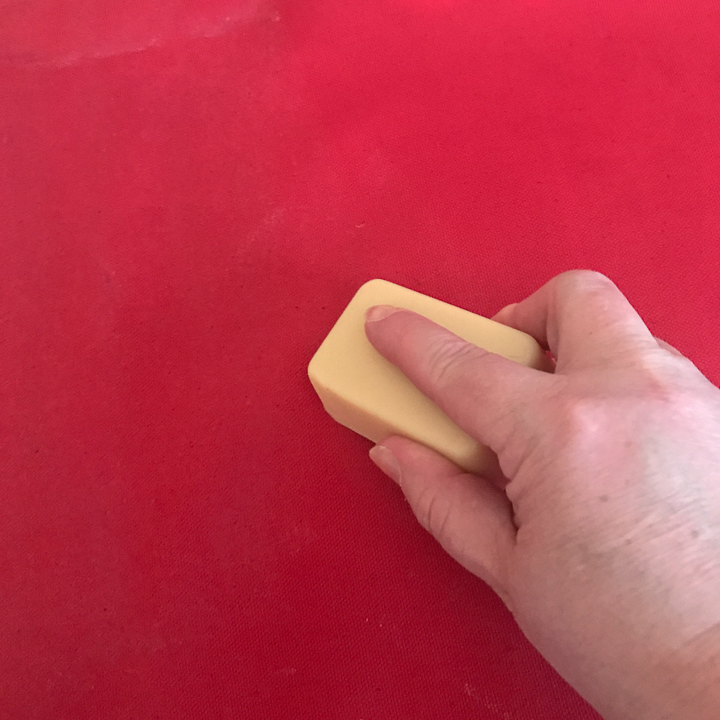
Rub wax on fabric
Working on a hard surface that has been protected with kraft paper or a dropcloth, rub the wax bar across the fabric. Use firm strokes to work the wax into the fabric.
Step #8
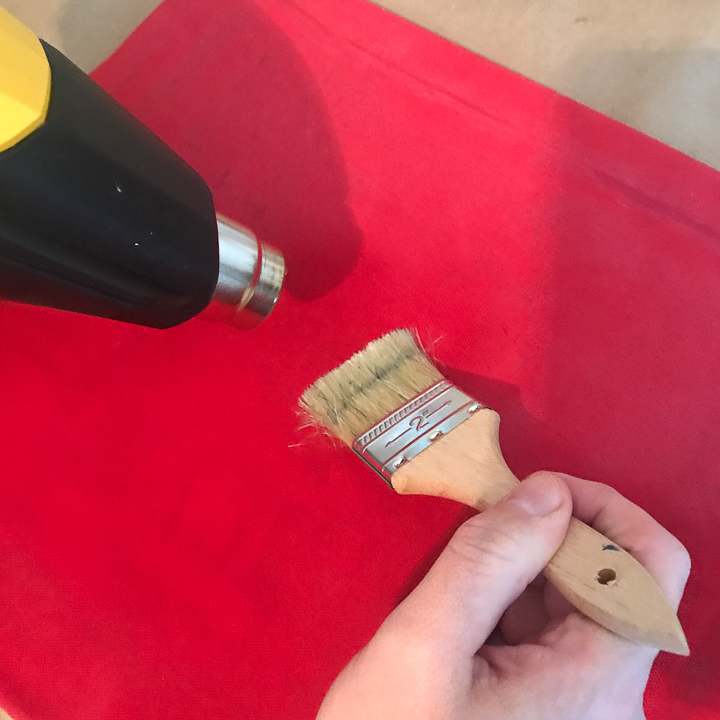
Heat wax
Once the fabric is coated with wax, soften the wax with the heat gun, using a low setting. Use a chip brush to work the melted wax into the fabric with a chip brush. You may want to apply more wax and repeat the melting steps to ensure you have good, even coverage of wax on both sides of the fabric seat.
Step #9

Download Project Steps & Shopping List
We’ll never share your email with anyone else

