Overview
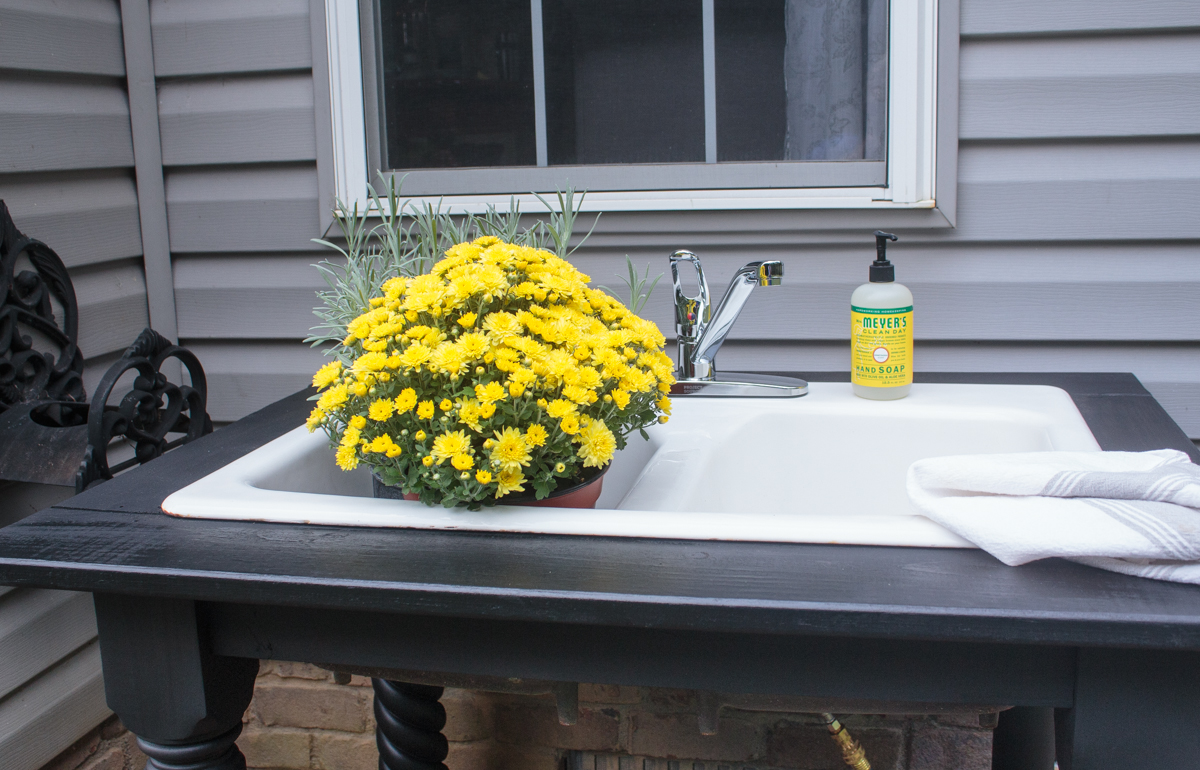
Upcycle a salvaged kitchen sink basin into a stylish farmhouse-style outdoor utility sink.
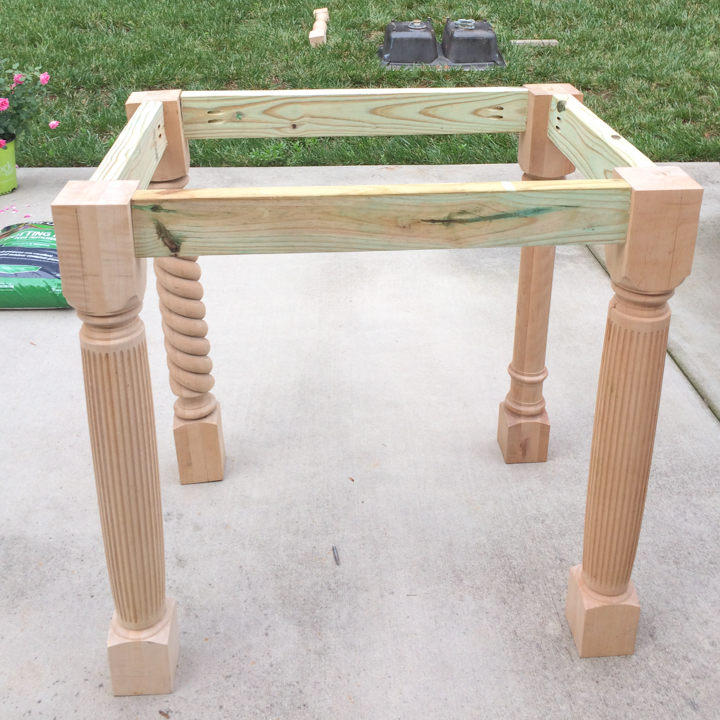
Build base
Measure the salvaged sink to determine the dimensions for the sink base. Use a circular saw to cut pressure-treated 2X4 boards to make side and front supports and stretchers for the sink base.
Step #1
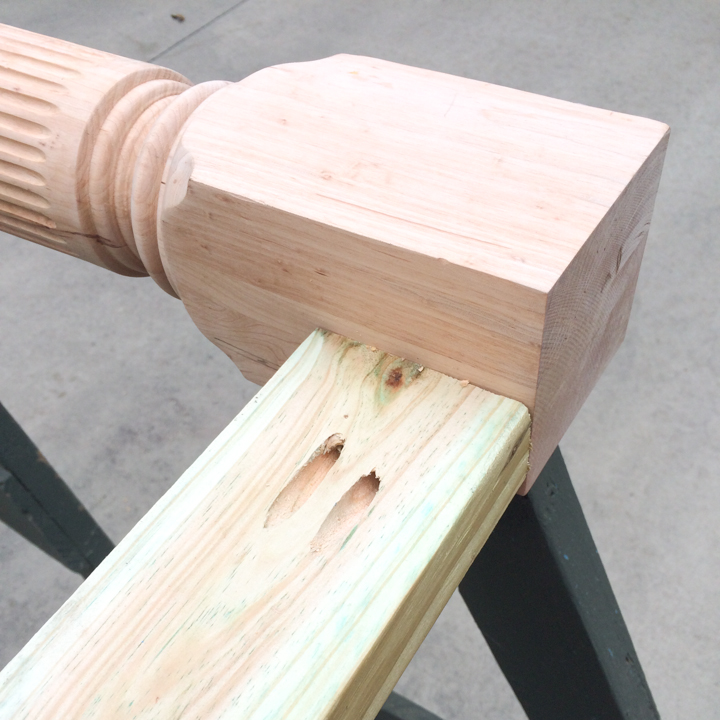
Attach legs
Use a pocket hole jig and a drill to attach the 2X4 boards to the turned island legs, deck posts or table legs For stability, use supports on the top and bottom of the sink base.
Step #2
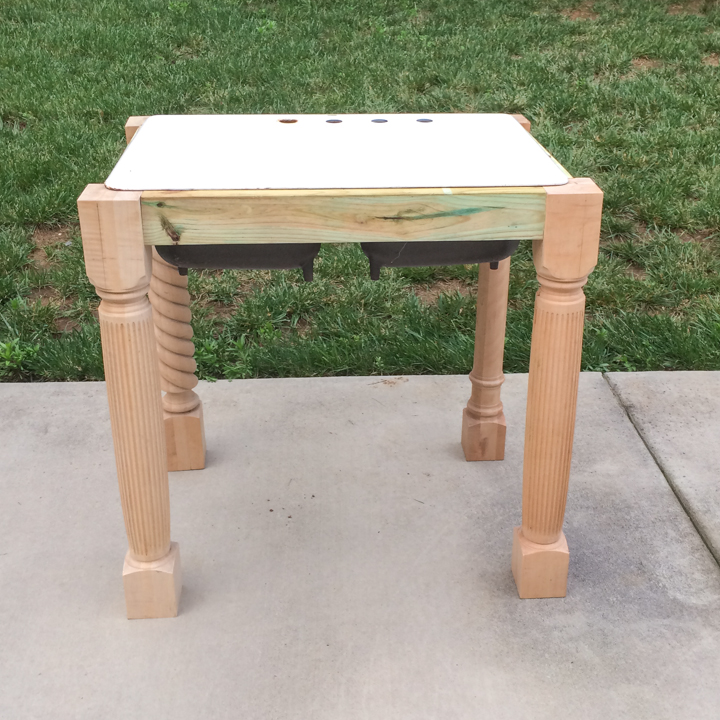
Build top
Build the decorative top for the sink base using additional 2X4 boards, joined using pocket holes. Attach this frame using wood glue and finish nails.
Step #3
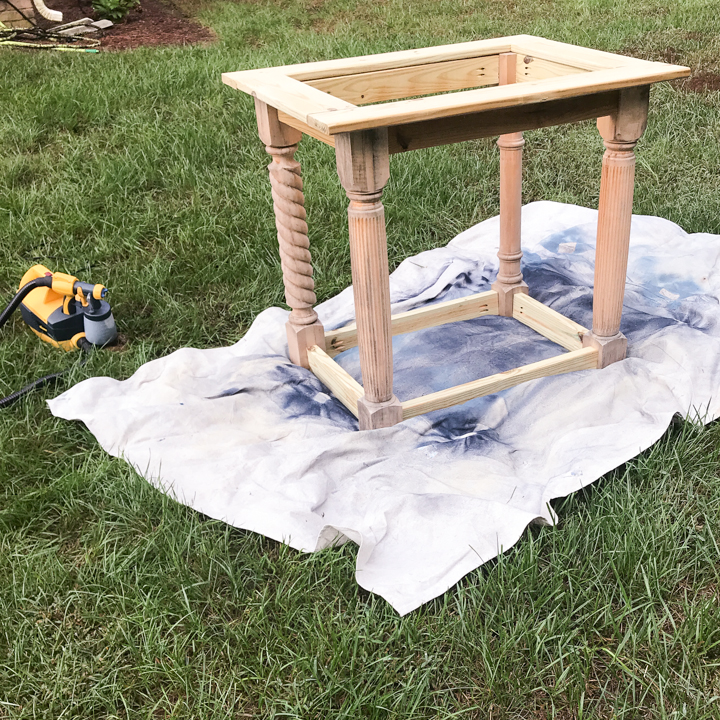
Sand wood
Prepare the sink base for painting by sanding. Allow pressure treated wood to dry completely before painting.
Step #4
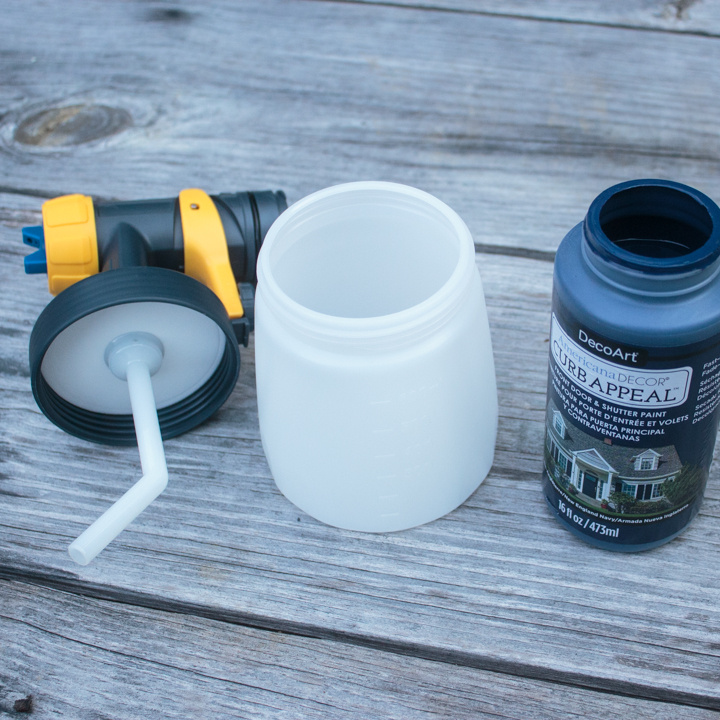
Fill sprayer
Fill the Wagner FLEXiO 4000 hvlp sprayer with exterior paint. Specially formulated door paint or marine paint is a good choice for this project. Attach the detail finish nozzle to the sprayer.
Step #5
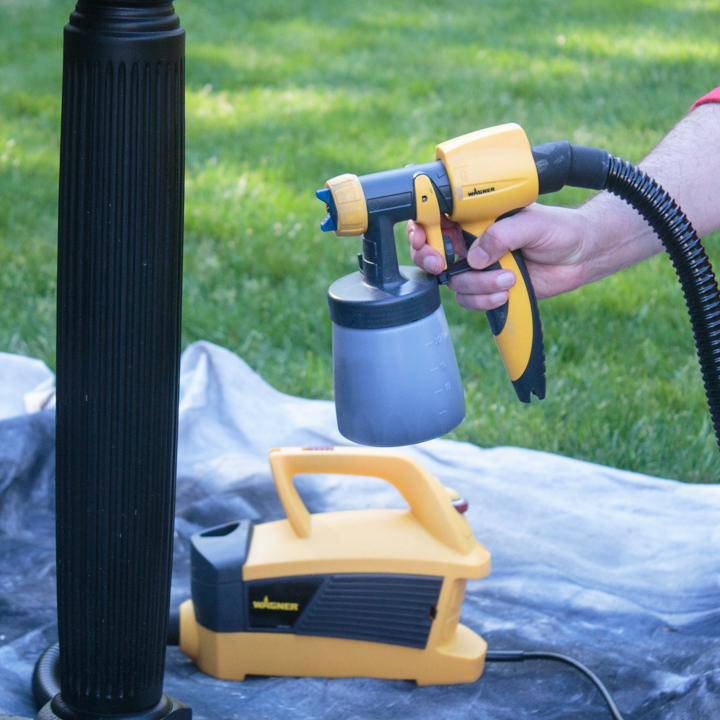
Spray
Adjust the material flow control and the spray nozzle and paint the sink base, making sure to cover all areas.
Once painted, position the sink base near an outdoor water source. Level, as necessary, using gravel or blocks. Once leveled, put the salvaged sink into the base.
Step #6
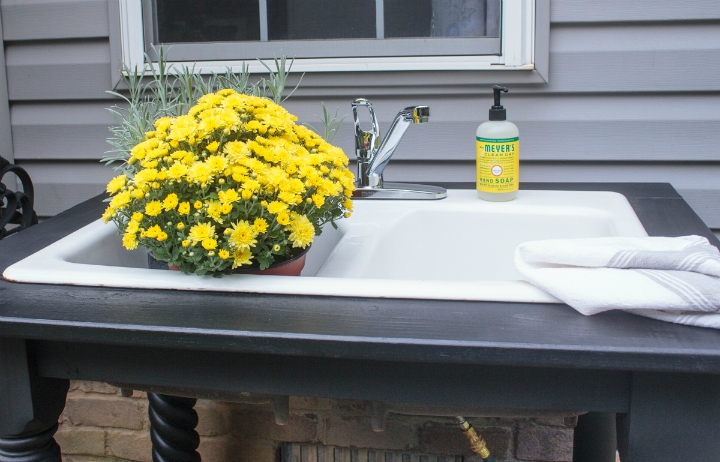
Add faucet and install
Add a kitchen faucet and connect to an outdoor water source using plumbing connectors. Workers at your local plumbing supply or hardware store can tell you exactly what parts you’ll need, depending on your sink, faucet and water source.
This sponsored project was created by Atta Girl Says. Head to the blog for the full post and details.
Step #7

Download Project Steps & Shopping List
We’ll never share your email with anyone else

