Overview
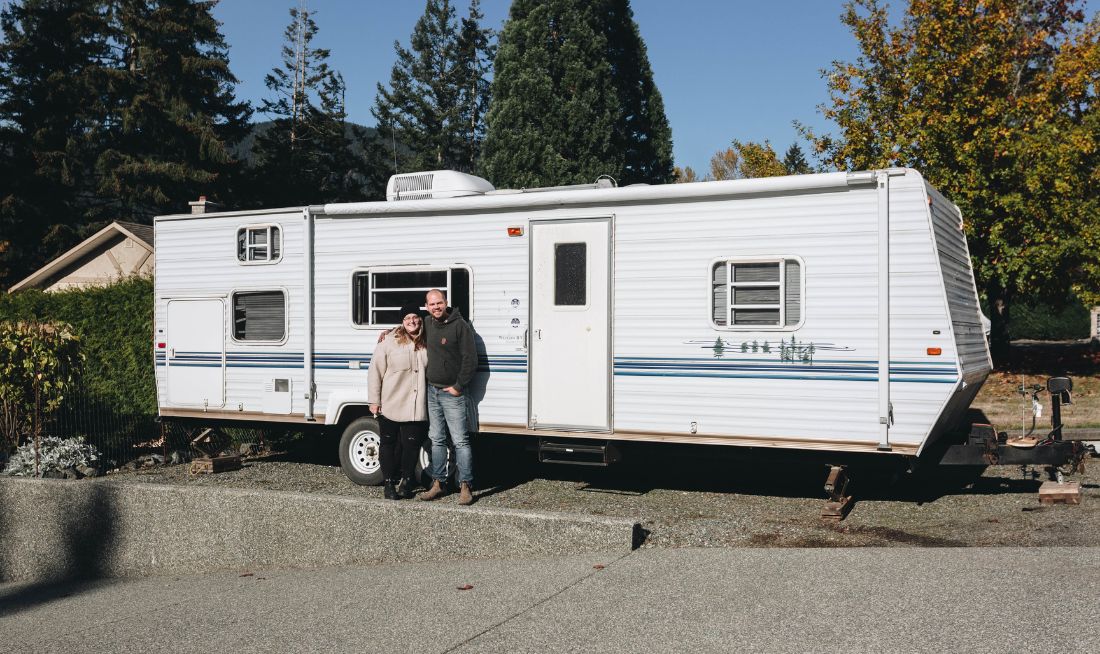
Hey everyone, this is Lindi and Russel from Love Create Celebrate. We have a very exciting new project, our RV makeover! We bought a second hand 2004 RV that we want to completely transform into a beautiful modern travel and guest space.
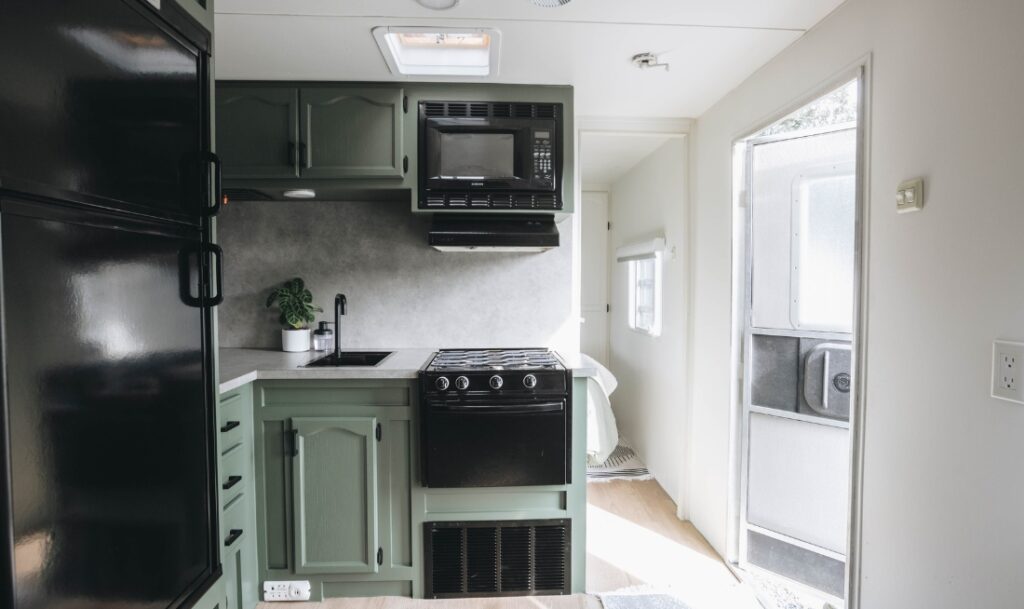
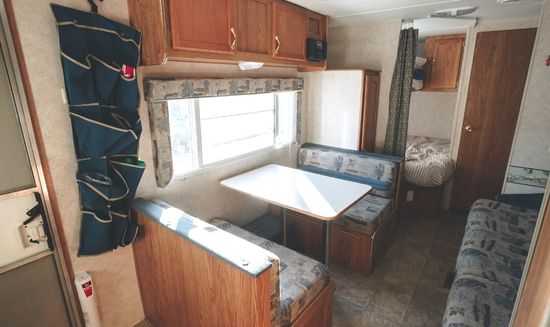
Before
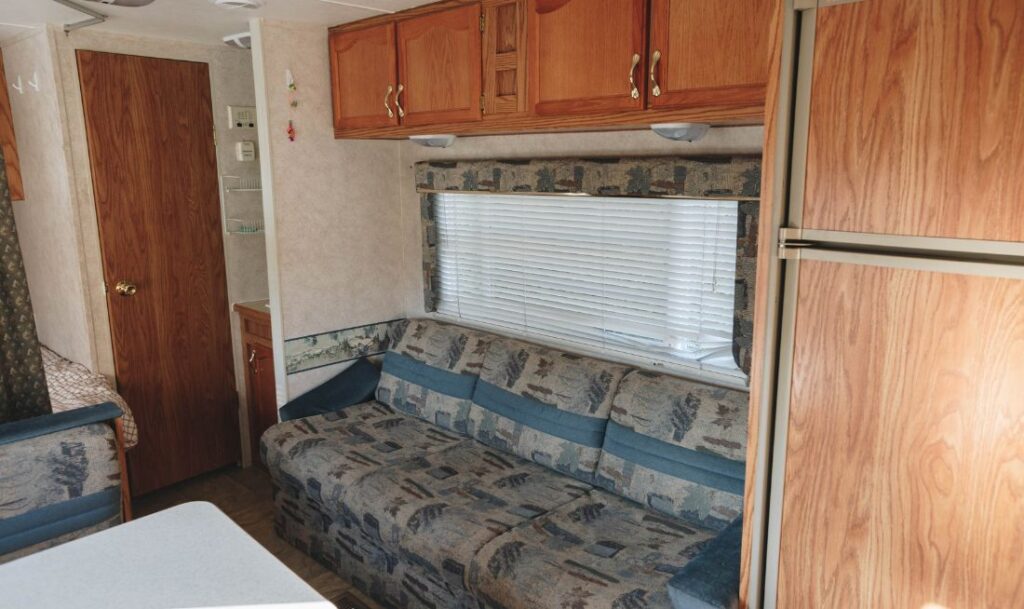
After

Instructions
Step 1
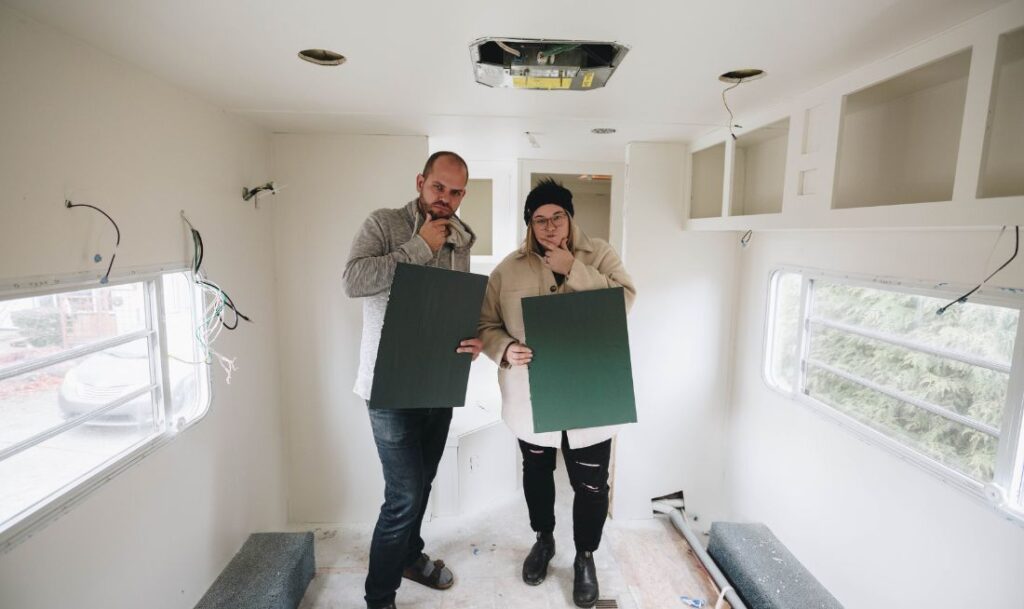
We started the project by clearing out all of the items left in the storage cabinets, and then we started the demo. We cleared out all of the furniture that we didn’t need, and then started taking down anything that needed a drill to unscrew from the wall.
Step 1
Step 2
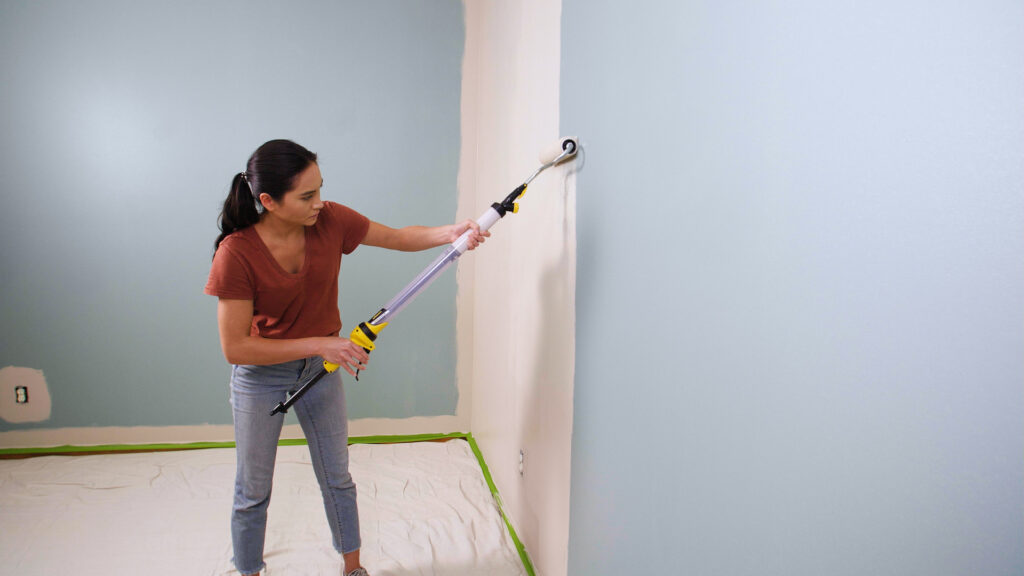
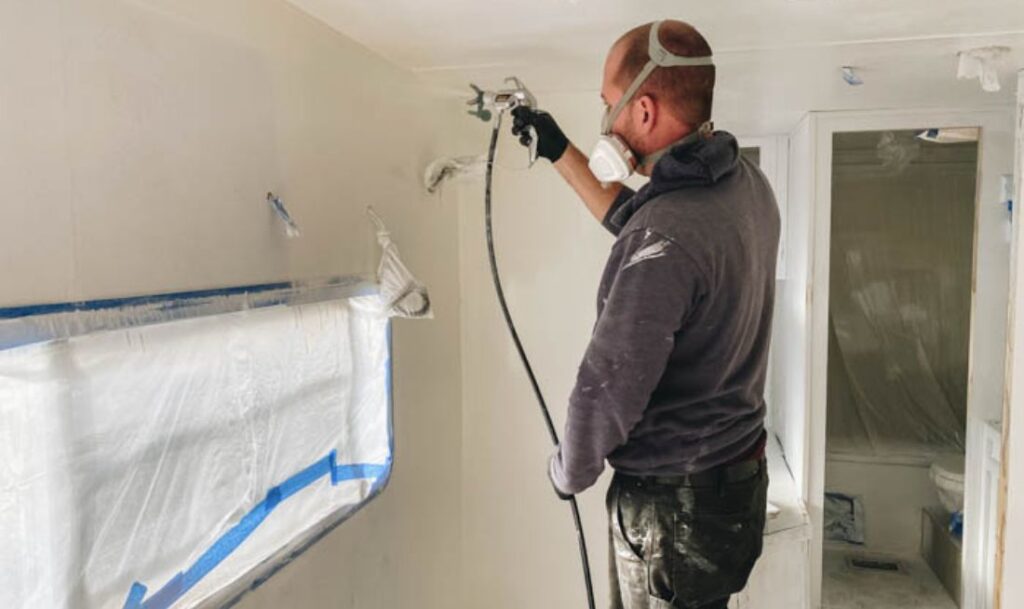
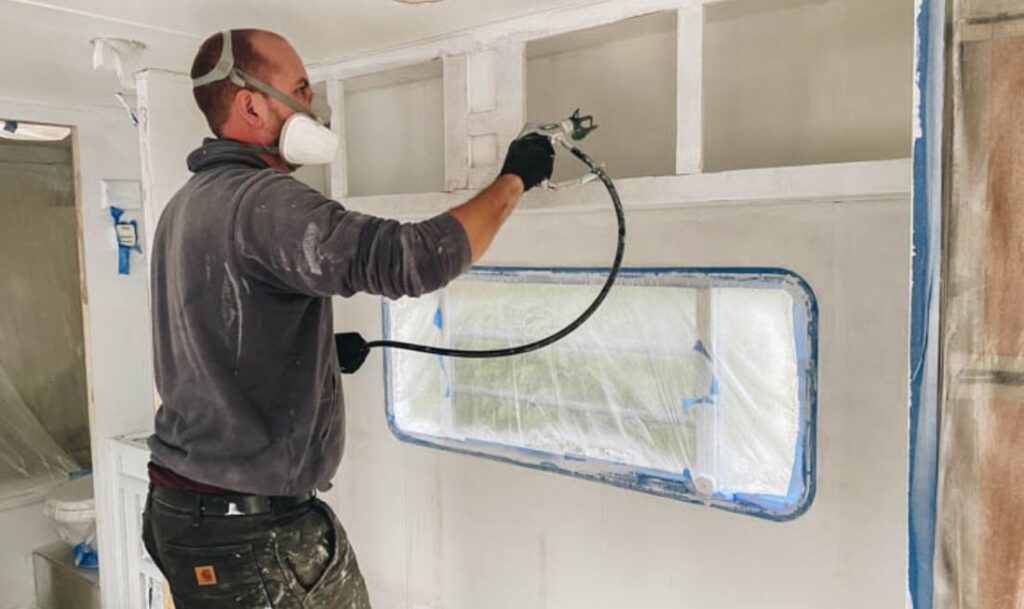
Next we did a ton of work to prepare for painting, which you can watch in our latest YouTube video. Once we were ready to paint, we pulled out our Wagner Control Pro 170 Sprayer, which is an airless sprayer that we perfect for spraying the interior.
Step 2
Step 3
We used the Control Pro 170 Sprayer because it allowed us to quickly and easily spray our primer and our paint on all surfaces of the RV – the walls, ceiling, and cabinets. The paint went on smoothly and easily! The prep work took a whole 2 days, but the actual painting only took a couple hours, even with all of the nooks and crannies!
Step 3
Step 4
The fresh coat of paint already made such a HUGE difference! We can’t wait to see the rest of the RV makeover come together!
Step 4
Step 5
We’ll be tackling the kitchen next before moving onto the bedrooms, bathroom, and main living spaces. Still so many exciting updates coming for this RV makeover!
Step 5
Step 6
If you want to watch the process, and see how our our RV went from outdated to bright and fresh, we shared the entire process on our blog and YouTube channel, Lindi & Russ.
Step 6

Download Project Steps & Shopping List
We’ll never share your email with anyone else